Introduction
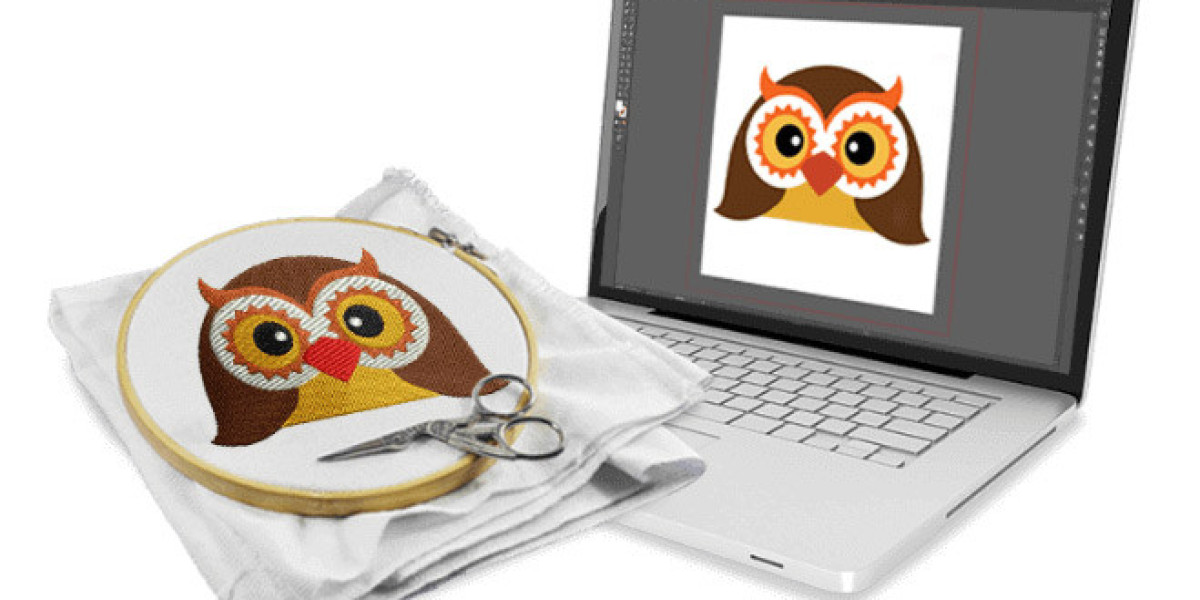
You've seen it happen - a crisp company logo stitched onto a polo shirt, a detailed mascot embroidered on a hat, or an intricate design perfectly rendered in thread. But how does that digital file actually become physical embroidery? The secret lies in digitizing embroidery, a crucial step that makes or breaks your embroidered results.
Many people assume you can simply feed an image file to an embroidery machine and get perfect stitches. In reality, digitizing embroidery involves an entire technical process that transforms flat artwork into a language machines understand. Poor digitizing embroidery leads to:
Blurry or distorted logos
Broken threads and skipped stitches
Unprofessional-looking finished products
This guide will walk you through:
What really happens during digitizing embroidery
The step-by-step digitizing embroidery conversion process
How professionals achieve perfect results with digitizing embroidery
Common digitizing embroidery mistakes to avoid
When to DIY vs. hire a digitizing embroidery expert
Whether you're a business owner, designer, or hobbyist, understanding digitizing embroidery will help you get better embroidery results every time.
What Is Embroidery Digitizing? (Beyond Basic File Conversion)
Digitizing is the process of converting artwork into a stitch file that tells an embroidery machine:
Exactly where to place each stitch
What color thread to use
How dense the stitches should be
When to trim and change threads
It's not just tracing an image - it's engineering how thread will physically interact with fabric to recreate your design. Think of it like giving turn-by-turn directions to your embroidery machine.
Key Differences From Regular Image Files
| Digital Image | Embroidery File |
|---|---|
| Made of pixels | Made of stitch commands |
| Unlimited colors | Limited by thread changes |
| Flat appearance | Accounts for fabric texture |
| Static dimensions | Adjusts for material stretch |
The Professional Digitizing Process: Step-by-Step
1. Artwork Preparation
Before digitizing begins, professionals:
Clean up fuzzy edges in vector files
Simplify complex elements that won't stitch well
Determine optimal size for the intended fabric
2. Stitch Type Selection
Digitizers choose from:
Satin stitches (for borders and lettering)
Fill stitches (for large solid areas)
Running stitches (fine details and outlines)
3. Path Planning
The digitizer maps:
Most efficient stitch sequence
Minimal thread jumps
Smooth transitions between elements
4. Parameter Setting
Critical adjustments include:
Stitch density (stitches per inch)
Underlay (stabilizing foundation stitches)
Pull compensation (accounting for fabric stretch)
5. Quality Testing
Professionals always:
Run simulation software checks
Stitch sample swatches
Make adjustments before final delivery
Common Digitizing Challenges (And How Pros Solve Them)
Small Text & Fine Details
Problem: Letters under 0.4" become unreadable
Solution: Simplify or enlarge text, use satin stitches
Gradients & Shading
Problem: Smooth color transitions are difficult
Solution: Use creative stitch directions and densities
Complex Logos
Problem: Too many small elements cause thread breaks
Solution: Simplify while maintaining brand identity
Different Fabric Types
Problem: Same design behaves differently on various materials
Solution: Create separate files for knits vs. woven fabrics
DIY vs. Professional Digitizing: When to Choose Each
Good Cases for DIY:
Simple text and basic shapes
Personal projects with flexible standards
Willingness to learn through trial and error
When to Hire a Pro:
Company logos and brand assets
Production runs where consistency matters
Specialty techniques like 3D puff
Difficult fabrics like stretchy knits
How to Prepare Artwork for Best Digitizing Results
Follow these tips to ensure your digitizer can create perfect embroidery files:
1. Provide Vector Files When Possible
AI, EPS, or SVG formats work best
Clean paths with minimal anchor points
2. Simplify Complex Designs
Remove unnecessary tiny details
Combine similar color zones
3. Specify Important Details
Final size requirements
Fabric type being used
Any special effects needed
4. Avoid These Problem Elements
Hairline strokes
Photographic details
Watercolor effects
The Cost of Quality Digitizing
| Service Level | Price Range | Best For |
|---|---|---|
| Basic Auto-Digitizing | $5-$15 | Simple text, personal use |
| Professional Manual | $15-$40 | Business logos, consistent quality |
| Premium Complex | $40-$100+ | Detailed artwork, specialty effects |
Why professional digitizing is worth it:
Saves money on wasted materials
Maintains brand professionalism
Reduces production headaches
Conclusion: Better Digitizing = Better Embroidery
Understanding the digitizing process helps you:
✔ Communicate effectively with digitizers
✔ Prepare artwork properly
✔ Spot quality issues early
✔ Get professional results every time
Next Steps:
Audit your current embroidery files for common issues
Implement quality control checks
Consider professional digitizing for important projects
Remember - great embroidery starts long before the needle touches fabric. Invest in quality digitizing, and your designs will always look their best.