Brightness is one of the key factors in projector performance. Many users ask why is my projector blurry, projector blurry, or my projector is blurry, and improper placement can reduce both brightness and sharpness. Even if the projector is capable of high lumens, placing it incorrectly can create uneven light distribution or dim spots. In this blog, we will explore the best projector placement for maximum brightness in a home theater and how to fix blurry projector issues caused by poor placement.
Step 1: Maintain Correct Throw Distance
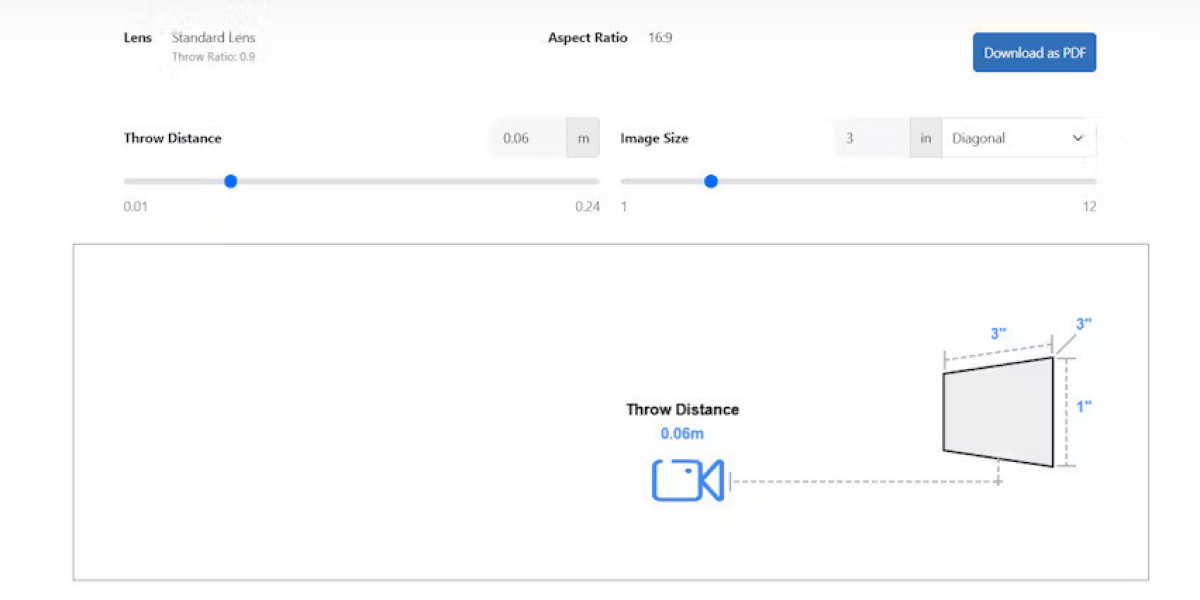
The throw distance impacts how bright the image appears on the screen
Placing the projector too far reduces brightness and contrast
Too close can overfill the screen and cause hotspots
Use the projector’s throw ratio to calculate ideal distance to prevent my projector blurry
Step 2: Align the Projector Properly
Center the projector horizontally to avoid uneven brightness
Align the lens with the vertical center of the screen using lens shift if available
Off-center placement causes brightness falloff on one side and soft edges
Step 3: Ceiling or Tabletop Mount Considerations
Ceiling mounts help maintain a consistent distance and angle
Tabletop placement can be effective if the projector is stable and aligned
Adjustable mounts allow fine-tuning to maximize uniform brightness
Step 4: Minimize Keystone Correction
Excessive digital keystone correction can soften the image and reduce perceived brightness
Proper physical alignment is preferred
Fine adjustments with lens shift maintain sharp and bright projection
Step 5: Optimize Room Lighting
Use blackout curtains or dim lighting for maximum brightness
Avoid direct light hitting the screen from windows or ceiling lights
Proper lighting ensures that the image remains vivid and my projector blurry issues are minimized
Step 6: Screen Selection Matters
High-gain screens reflect more light, improving brightness
Matte white or gray screens can help balance contrast and clarity
Screen quality directly affects how bright and sharp the image appears
Step 7: Fine-Tune Focus
Adjust focus across the entire screen after placement
Check corners and center for uniform sharpness
Proper focus complements brightness and reduces soft edges
Tips for Maximum Brightness
Keep the projector perpendicular to the screen
Avoid reflective surfaces around the screen that can scatter light
Use the projector’s eco mode only if necessary; full brightness ensures a crisp image
Regularly clean the lens to maintain optimal light output
Conclusion
The right projector placement is crucial for achieving the best brightness in a home theater. Many users ask why is my projector blurry, projector blurry, how to fix blurry projector, or my projector is blurry, and improper placement can reduce both brightness and clarity. By calculating throw distance, centering the projector, minimizing keystone correction, optimizing room lighting, and selecting the right screen, you can ensure a sharp, bright, and immersive home theater experience. Proper placement guarantees consistent image quality, making movie nights or presentations more enjoyable and professional-looking.
Read more: https://www.geto.space/read-blog/37488